|
The Lily in progress.
I hope to keep a running pictorial of its construction
|
|

The package picture of the Lily
|

The other side
|
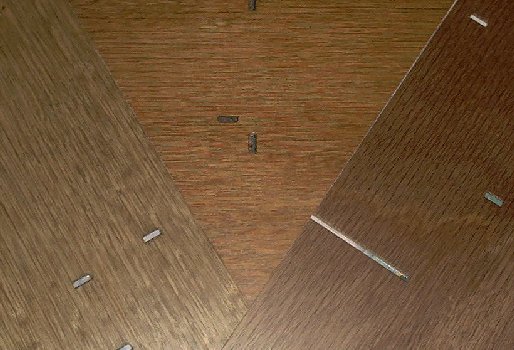
The floors were so nice I just drew slat lines and stained and/or varnished them
|
|
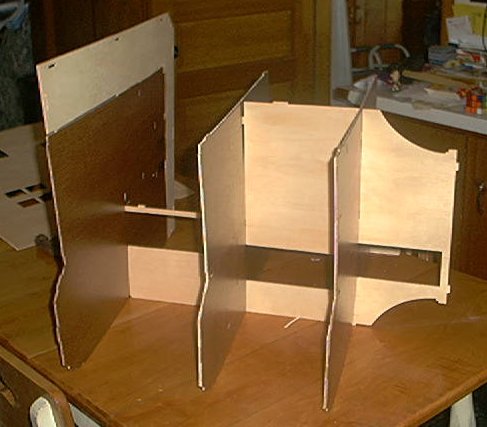
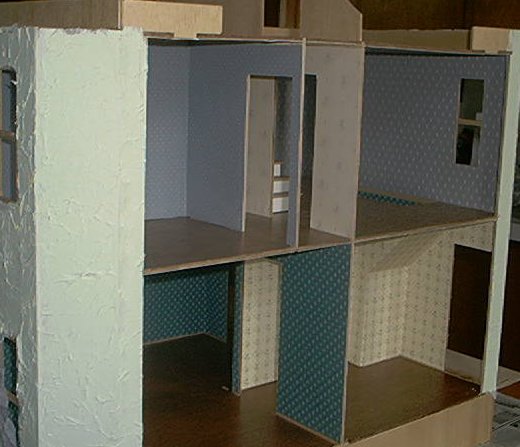
Floors attached to middle support.
|
Front attached - a tricky procedure!
|
Side wall added
|
|
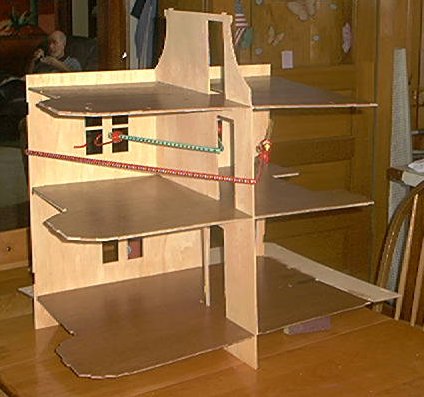
The "enclosed" area is the foyer which will be very hard to access once the walls are all up.
|
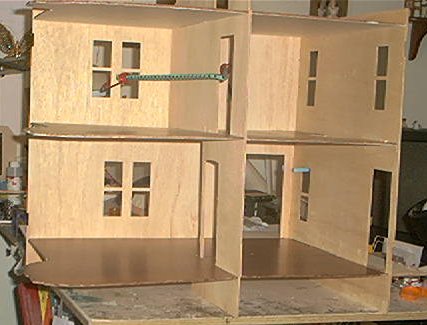
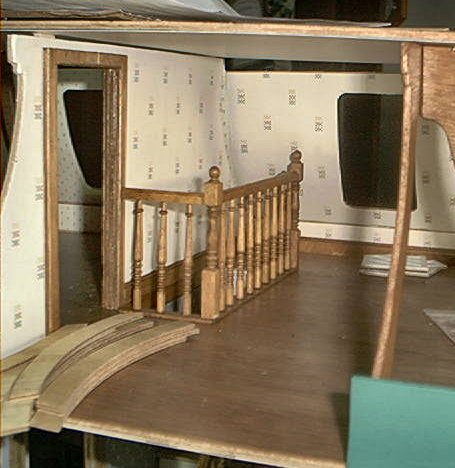
This is the view from the front door. The stairs are not permanently in. And they need rails and all.100202
|
The view from the kitchen area. There will be a wall at a right angle from the stairs that will separate the kitchen from the foyer. That has to be in before the stairs - I think. Either that or I wasn't sposed to put the treads on the stairs yet! 100202
|
|
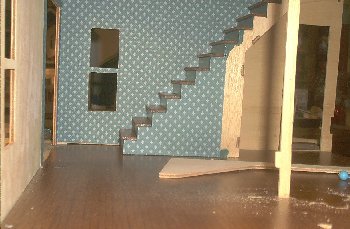
The view thru the liningroom area. There will be a wall with a wide doorway into the foyer when done. I ordered the spindles and rails so progress will slow down til I get them. 100202 Added notes: I thought I could put the kitchen wall in first and then the stairs but no go. And I had to cut the tabs on the back kitchen wall about in half to get it to slide into place as there is no give between the floors.
|
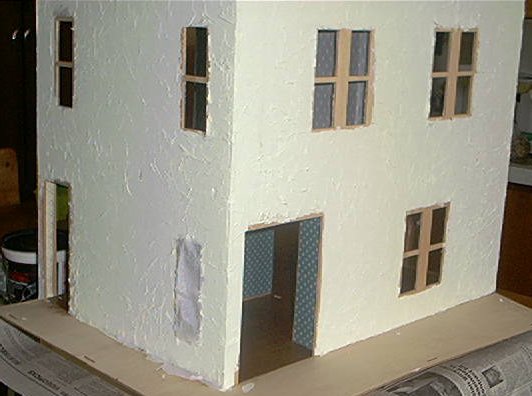
As you can see I've been wallpapering a bit. All were prepasted but one. That sure helped speed things up! lol The original plan had just a wall coming short of teh open side for the bathroom access - not a door. That just wouldn't do for me! So I cut a new wall and now the bathroom has a wall so if I do make a door for it they can close it for privacy. 102802 (Ignore the stucco siding here. I forgot to take a picture of the doorway when I was done! lol)
|
There are methods for this but I kinda went on my own - bad memory. I painted a section, then put a ripped, scrunched hunk of tissue paper on it and pounced it down with more paint on the brush. It went quite well. But don't assume it will hide things - like where the panels meet. Spackle them first! I had to go back and do that. Then I repainted the whole thing with my trim roller.110602
|
|
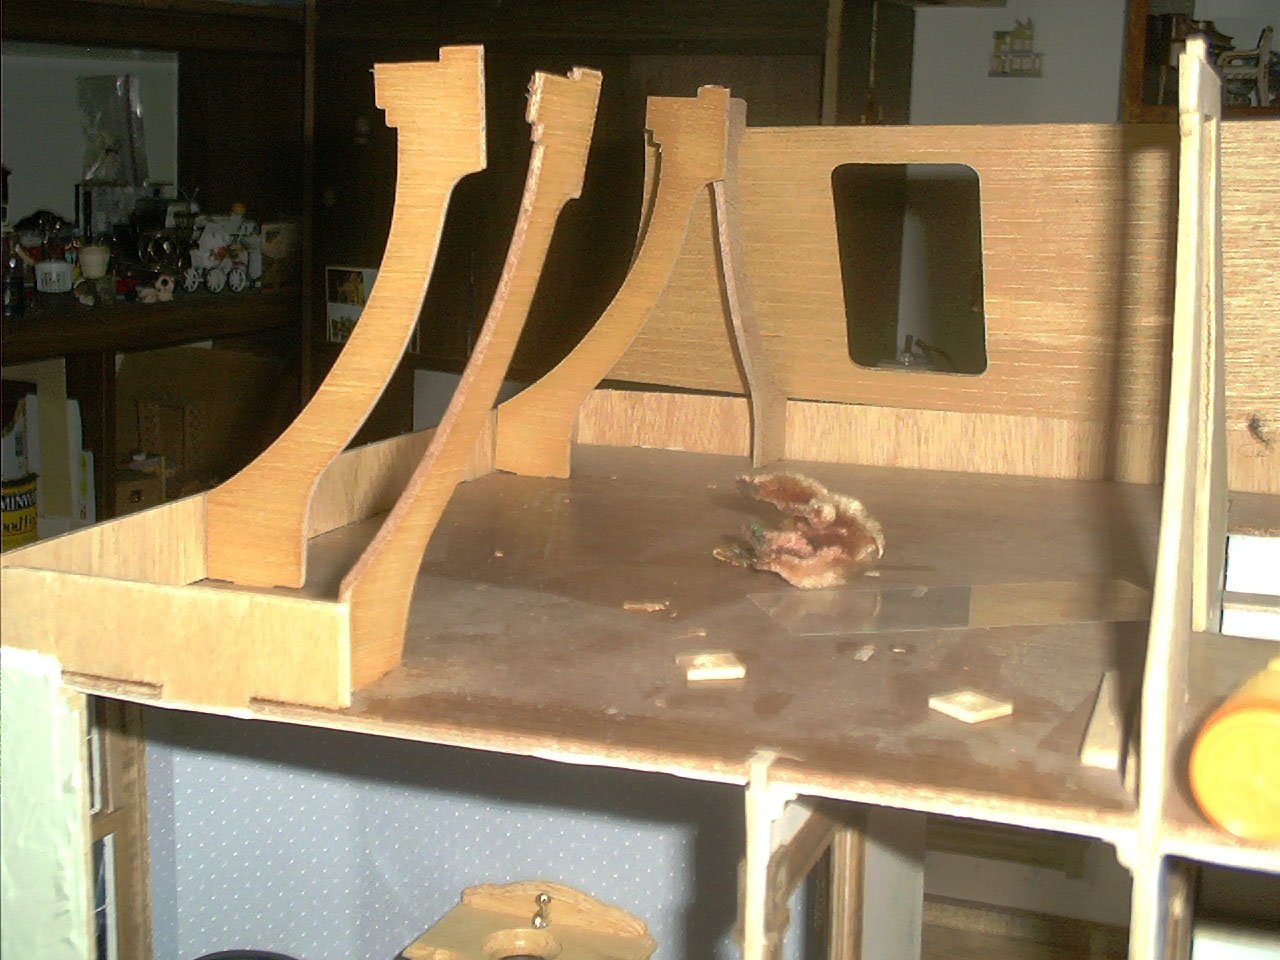
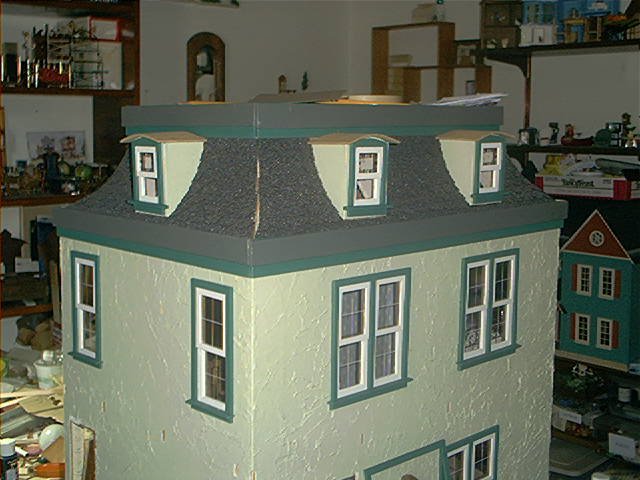
The crazy roofs and all of the third floor. 012904
|
Slightly different angle. 012904
|
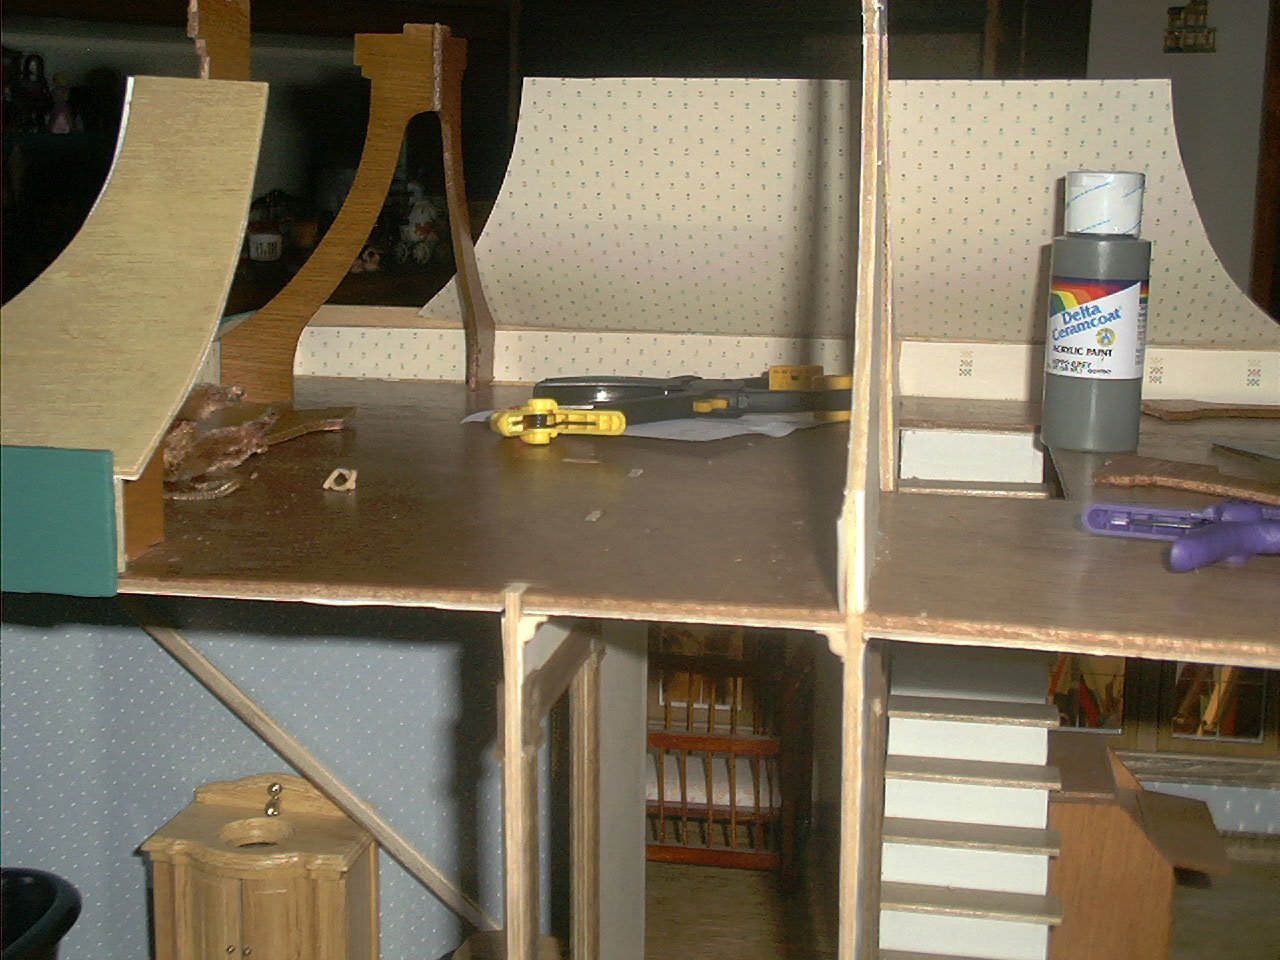
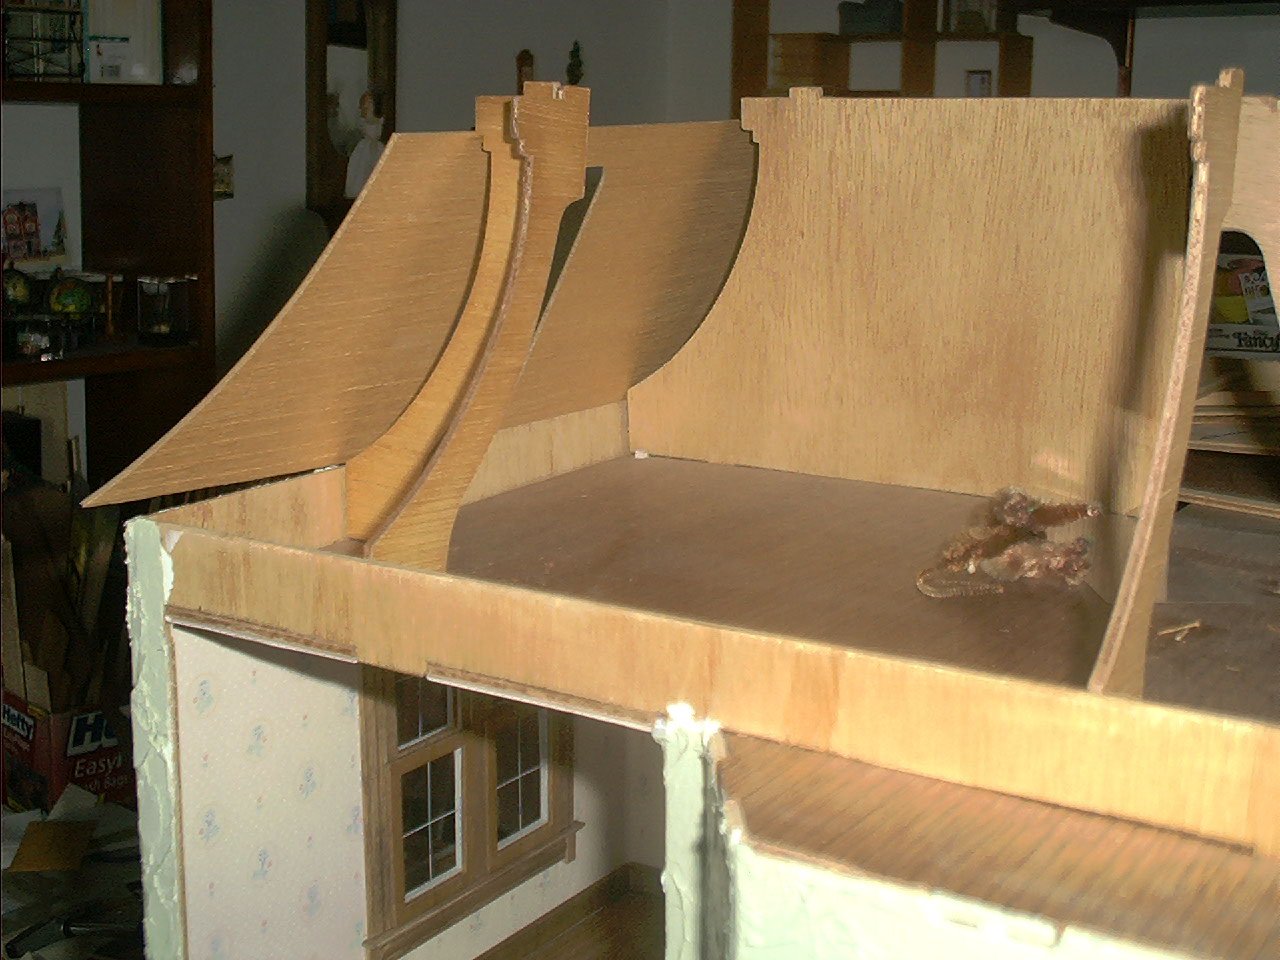
Just a sample of the wallpaper etc. I plan a strip of wainscotting top to cover the edge between the footwall and the curved roof. There will be a "bench" in the far corners of each room in the cove the braces make. 021304
|
|
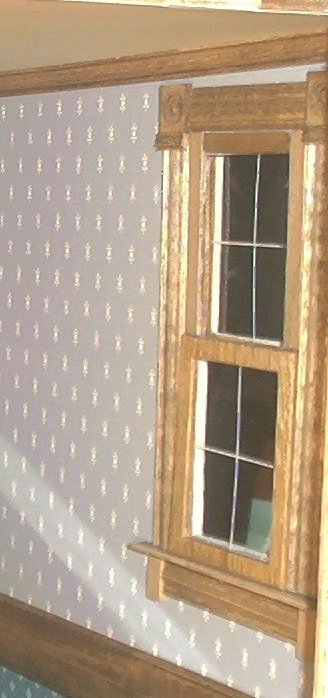
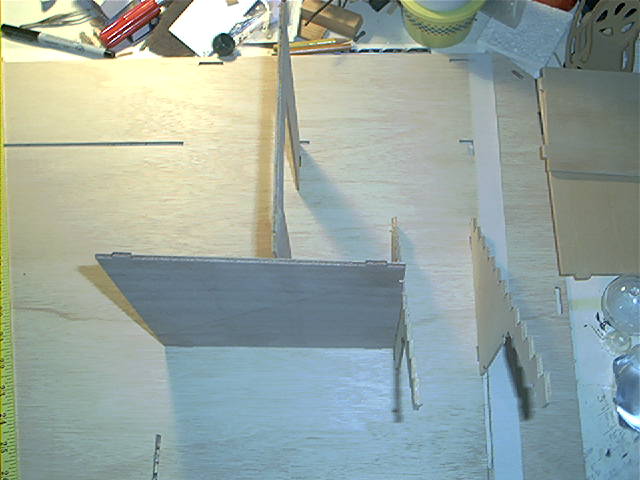
I'm doing my own woodwork - similar to that in my own house. The framework around each window is 11 pieces.
|
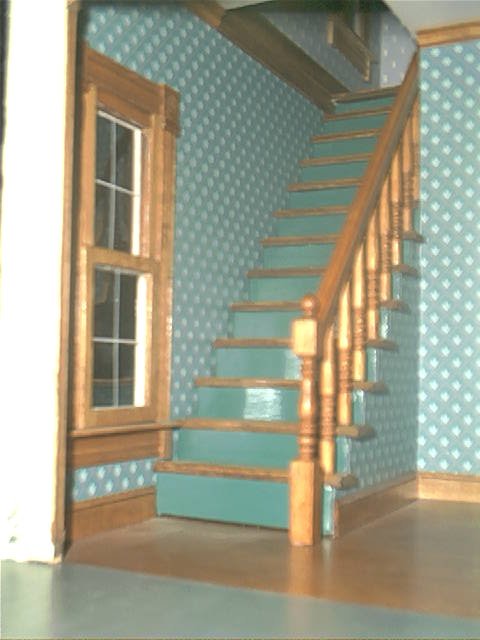
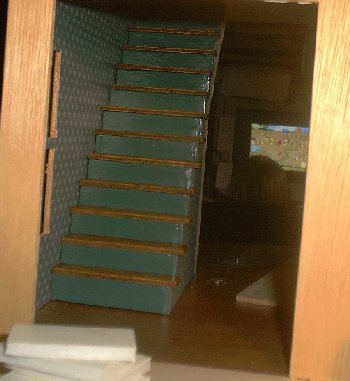
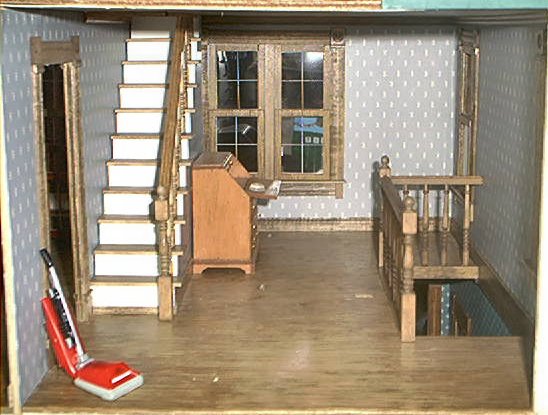
WOOHOO! The stairs are in! And yes, the wood is different shades on different floors. 031004
|
Second floor, too. Still ahve to do the rails around the stairwells but that's a piece of pie compared to the steps! 031004
|
|
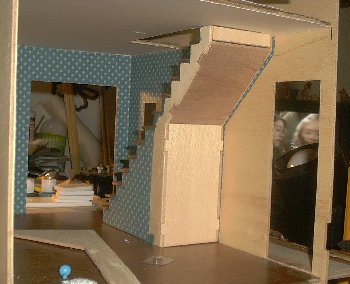
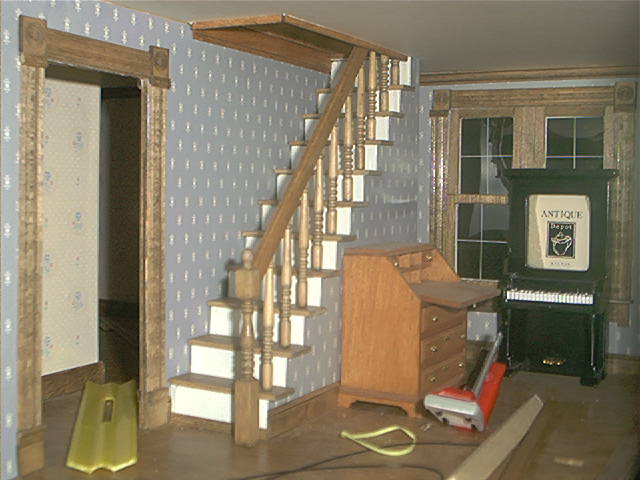
I know that there's VERY little head room at the top of the stairs but it will be a lot less obvious when the walls are in place. Hafta sacrifice sometimes for a feature that means more to you. 031204
|
Really starting to look like home now! Now on to the porch roof. 031204
|

Let us pray. Not gonna touch it til Monday!!! 031304
|
|
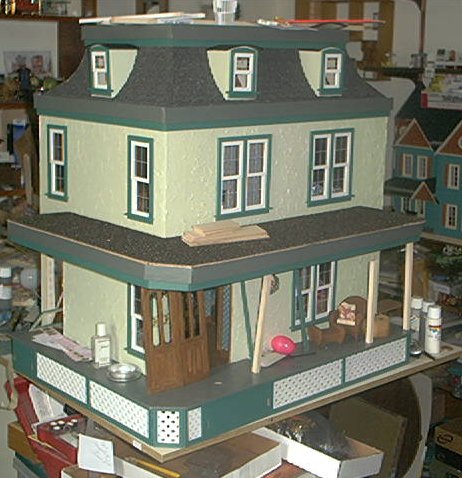
As you can see, the roof stayed on. GREAT sigh of relief! lol Now it's shingled. I still need to do the corners but the worst of the work is done. As to the roof edge trim, I'm gonna put green angle strips along that to finish it off. Now on to the porch! 040404.
|
HELP! I can't "see" the railing! I need suggestions as to what colors combination to make them. Options: the whitish color, gray and dark green.
|
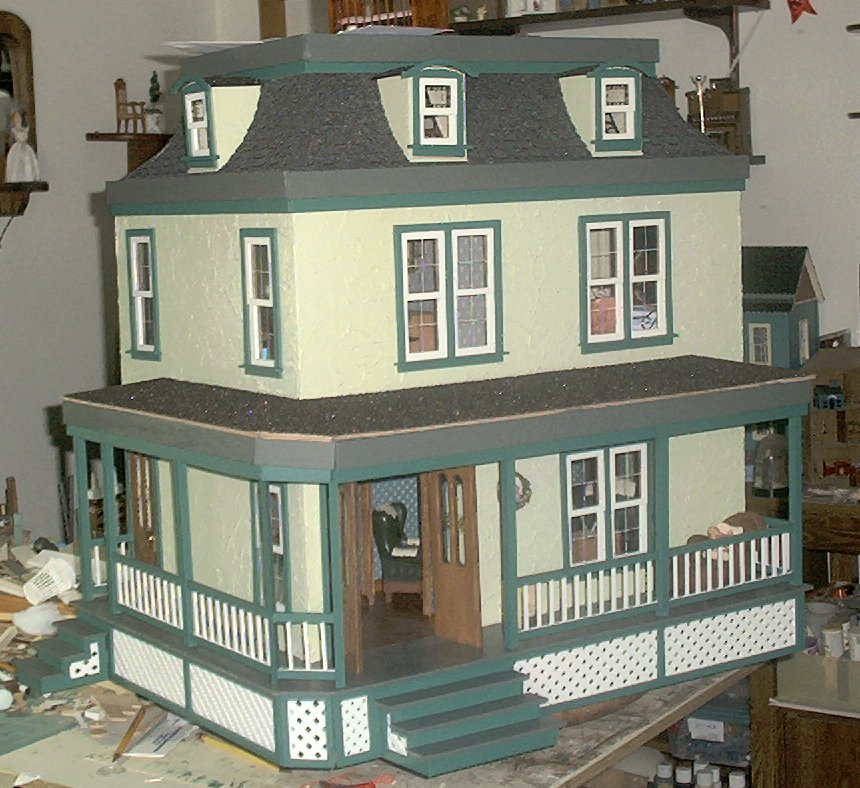
Still waiting for the angle strips. Other than that - SHE'S DONE!!! The porch roof, top roof and the dormer roofs are covered with black granular stuff from when the sealed the cracks in the school playground. I was gonna use black sandpaper but when I saw this stuff a light went off. I sent a couple of the grkids down with margarine bowls to fill. Sprayed some posterboard cut to shape black, sprayed it with spray adhesive and sprinkled the black stuff over it. 052804
|
|
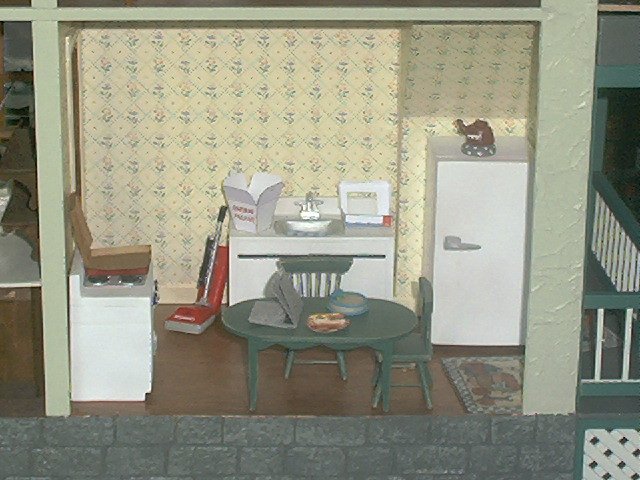
The kitchen. Not the final appliances but they can cook now. We'll upgrade as life goes on.
|
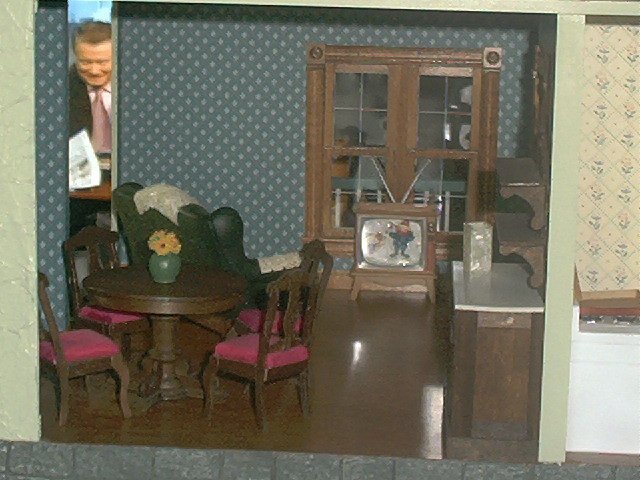
The dining area. Regis took a look and approved. lol
|
It's a bigger room than it looks here. A little bare of furniture also but it will flesh out. The foundation stones were made from egg cartons.
|
|
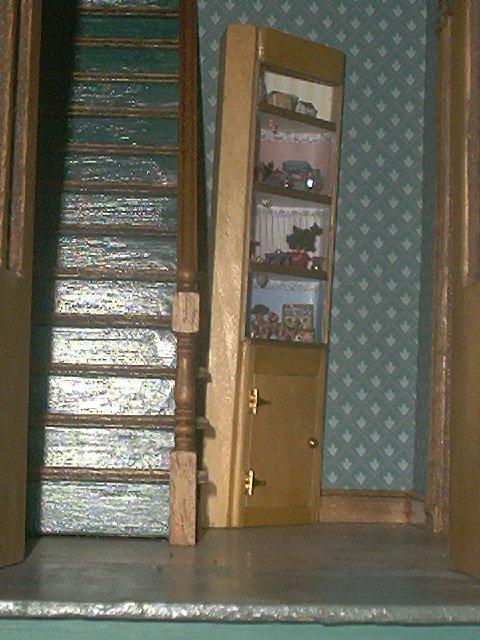
No, the hutch won't fall over. It's just bumping the edge of a step and I didn't check before I took the picture. lol The hutch was made by me and my talented mini/mini friend Nertha filled it to make a micromini dollhouse!!! It's just wonderful!
|
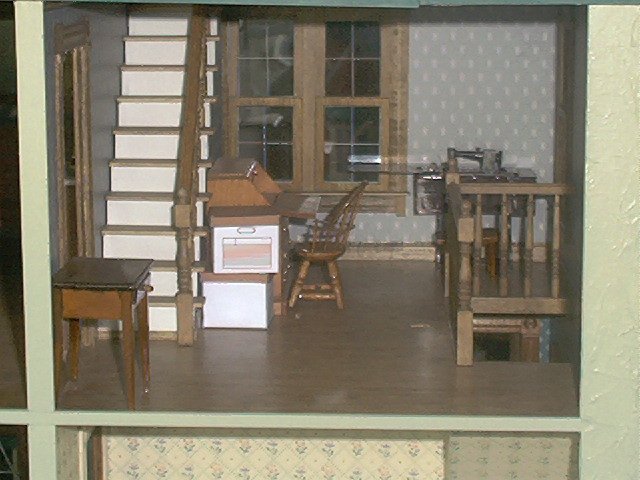
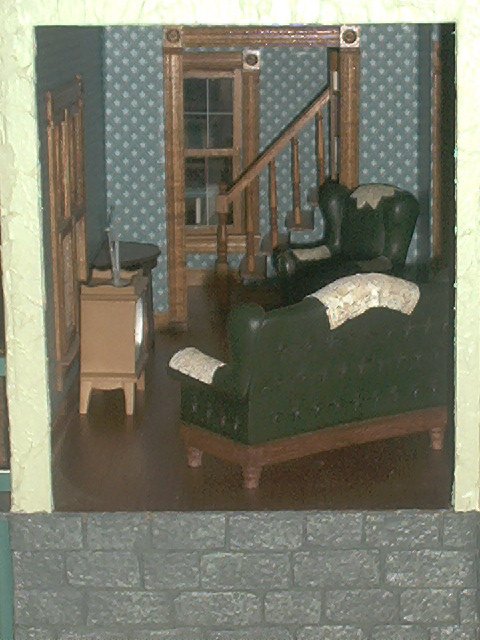
By turning the stairs this bacame more of a room than a big hall between the staircases. Mom's sewing machine and dad's desk have a place to live.
|
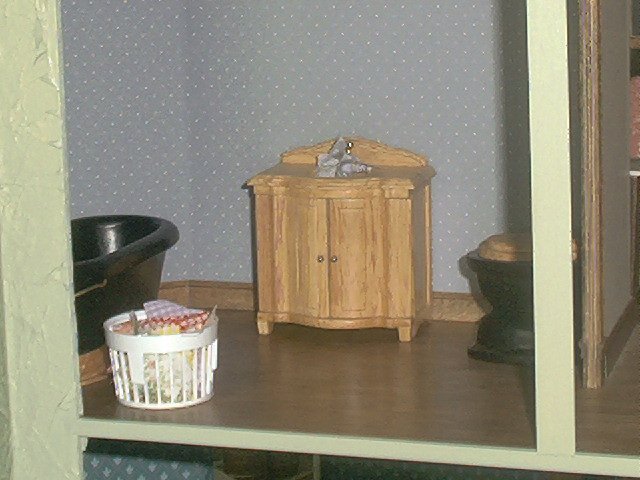
Kinda stark but you can see that the laundry is piling up already. Guess they must go to the laudromat. No washer and dryer in sight!
|


